Monthly Archives: October 2012

Color Me Costumed

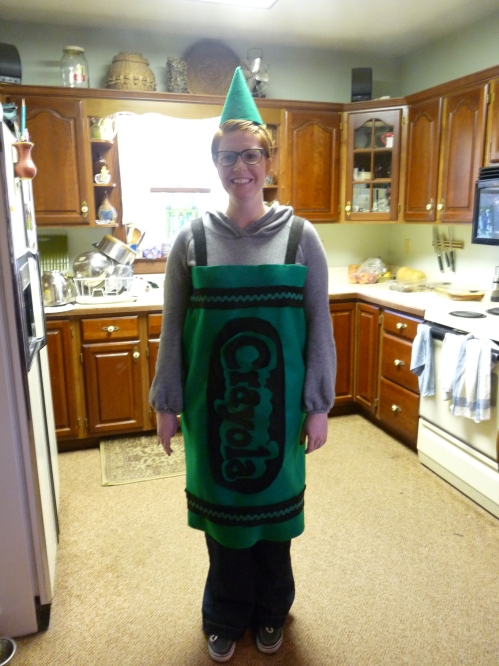
Halloween was always fun growing up, but it was a rule in our family that after fifth grade you didn’t trick-or-treat anymore.  We were in middle school and I guess old enough to not go out and get all that free candy. My workplace allowed us to dress up for the holiday this year.  I had the idea to be crayons – Crayola crayons to be specific.  A friend’s daughter had previously dressed up as a crayon, so I used her costume as a template of sorts.   This project actually involved making three costumes, one for my assistant manager and two for my co-workers.  It was quite the afternoon!

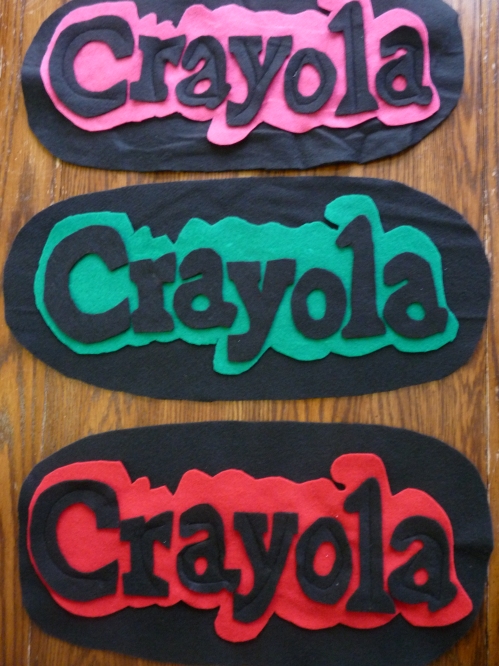
My supplies included black felt (1/2 yard), three shades of bright colored felt (1 yard per costume) and rick rack in the same color. I made three templates based on the previous costume, making some adjustments to make the crayon label fit an adult-sized rather than child-sized costume.

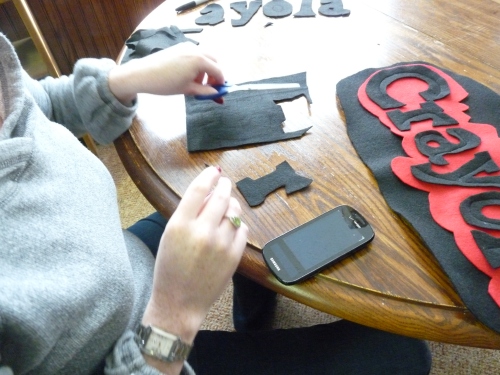
After tracing and cutting out the letters, the black oval, and the coordinating background area, I glued the background to the oval, and the letters to the background.  I knew this would make the sewing a little easier.   After giving the glue some time to dry I sewed around each letter to secure it to both the colored felt and the black felt, label complete!

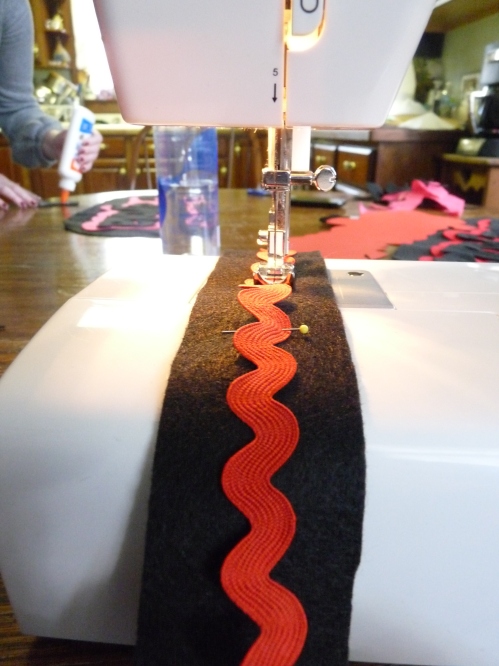
Next I decided that a two inch wide black strip around the top and bottom of each crayon would look good.  A wider strip would be fine too, but a much narrower on an adult would be too thin. After cutting those lengths I pinned the rick rack right down the center of the two inch strip and then sewed the rick rack to the black felt.

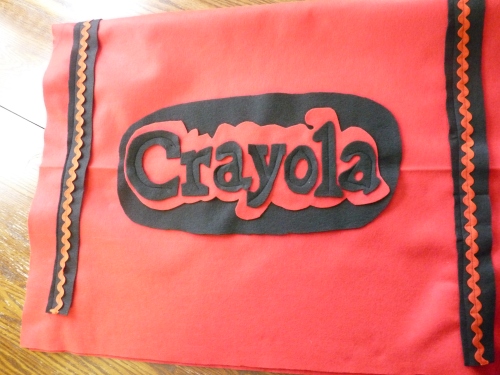
The colored felt, which is the majority of the costume is just a tube. I measured around the widest part of my coworker Heather’s body and then added a couple of inches to allow for movement, ease of getting the costume on and sitting during the day.  Before sewing the colored felt into a tube, I sewed one of the black felt strips a few inches from the top and the other a few inches from the bottom.  I also sewed the crayon label on the center of the large piece of felt.

Next, I lined up the edges of the large piece of felt and sewed it into a tube. Be sure that the crayon label side is inside while sewing the tube.

The final step for the body of the costume was to make straps from black felt.  I made Heather’s straps one inch wide and 24 inches long.  I had her try on the body of the costume to help me determine where to place the straps.

Now a crayon isn’t a crayon without a tip. We bought a pack of paper party hats to form the base of our hats.  I took the paper hat apart, laid it on a piece of colored felt, and traced it, adding an extra half inch on each side.  Then  I cut out the felt, stapled it around the hat, and restapled it into a cone shape.  Easy peasy!

Isn’t it cute?

-Emily

Quilting Adventures: Part 1

A couple of weeks ago I made a few quilt tops for a project at church. These are made with large sections of fabric.  Nothing fancy, but useful.  As I was working on this project with my mom we ended up with smaller pieces left over. That is where this project was born. I decided to make a quilt for Nelly, my pup.  She sheds a little but likes to sit on the couch, so this will be her couch quilt.

Here we go…

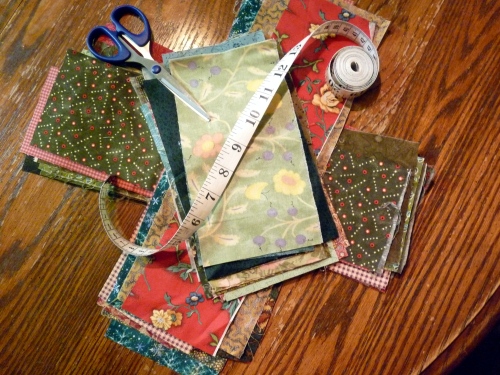
First I took all of the scraps of fabric and sorted them into two piles based on their length. I figured this would give me an idea of how to cut down the strips. I didn’t want to waste fabric, or make cuts that were unnecessary. I decided that based on the fabric I had I would do four columns, two of each length.

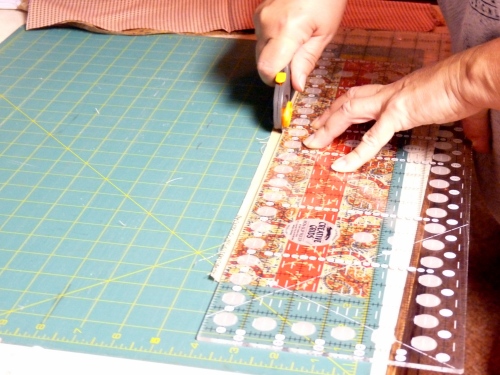
After making this decision I got my mom to work on cutting! It was a tag team effort on this part of the project. Mom cuts, I organize, pin and sew.  Not a bad deal if you ask me.   Something about cutting fabric frustrates me, so if I can avoid it, I do!

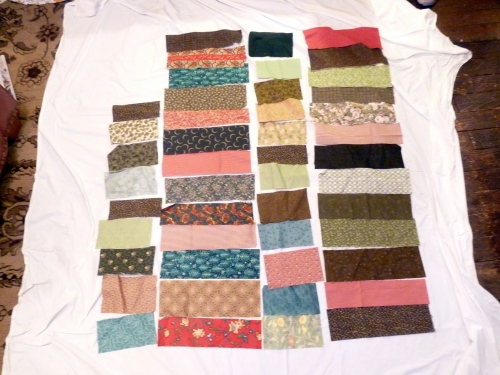
The quilt didn’t need to be super fancy or color coordinated but I didn’t want it to seriously clash either.   I realize it is for my dog, but at the same time it will be in view on the couch.  I laid out all of my fabric so I could get an idea of how the rows would match up together and then it was on to the real work.

Basic sewing is not as difficult as some people think, and I was not looking to earn any awards with this quilt.  I took my first two pieces of fabric, put them together with the “good side” facing in, lined up the long edge and pinned the two pieces together in three spots.

Then I was off to the races.   I zipped each piece through the machine, using the edge of the foot on the sewing machine as a guide for the seam. Using the foot as a guide made for a nice ½ inch seam and it was also an easy way of keeping the seam straight.

After I sewed all of the pieces together I had four strips that were all pretty close to the same length. However as I held one up I saw it was really curved to the left. So much for nice straight and even seams! I was afraid I would have to rip out the seams on about half of that strip, but after a calming discussion with my momma I was given a much quicker solution. I simply had to adjust the seams on a few pieces and that would straighten up the whole column. This meant measuring the two ends of each individual strip that seemed out of place and re-sewing that seam. Phew! I had to make this adjustment in three places, but SO much better than ripping out seams and then repinning and re-sewing half of the strip.

This is where I am right now.  I have four columns ready to be sewn together into a full quilt top.  I will use solid fabric to separate each column to bring it all together.

The adventure continues as I work on other projects.

-Emily

Enamored with Enamel

I love glossy things. Maybe that’s weird but smooth and shiny is good in my book. I’ve seen this faux enamel vase idea in a couple of places.  I love it and the outcome was just what I was looking for.  I would do it again, though maybe with a few variations.

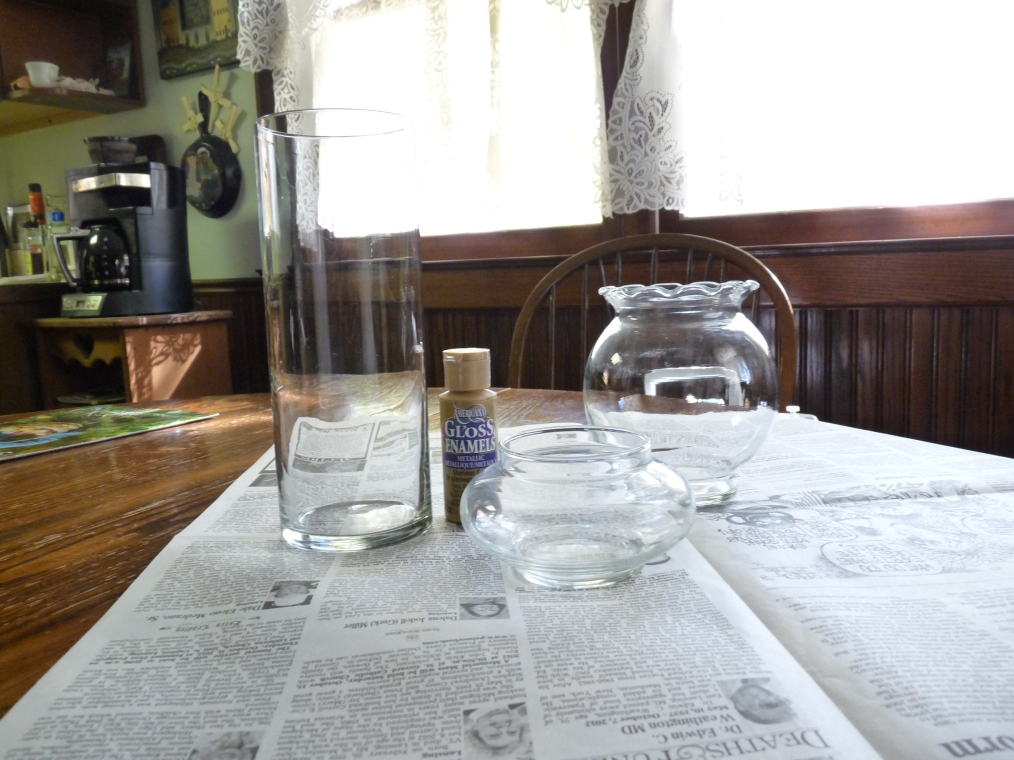
The faux enamel look is really easy to accomplish.  You just need a clear glass vase, a paint brush, and enamel paint. Super simple with an awesome result.

I already had one vase that would work for this project, but I wanted more, so off to Goodwill I went. They had a variety of clear glass vases, and I picked up two more for $0.59 each.  Then I zipped into Michael’s to pick up the paint and brushes.  I wasn’t sure how much paint I would need, so I started with a 2 oz bottle of glossy enamel paint.  Between the 40% off coupon I used at Michael’s and the Goodwill vases, this project was not going to break the bank.

. Image

I prepped the vases by washing them with warm soapy water, rinsed them and dried them thoroughly.

Image

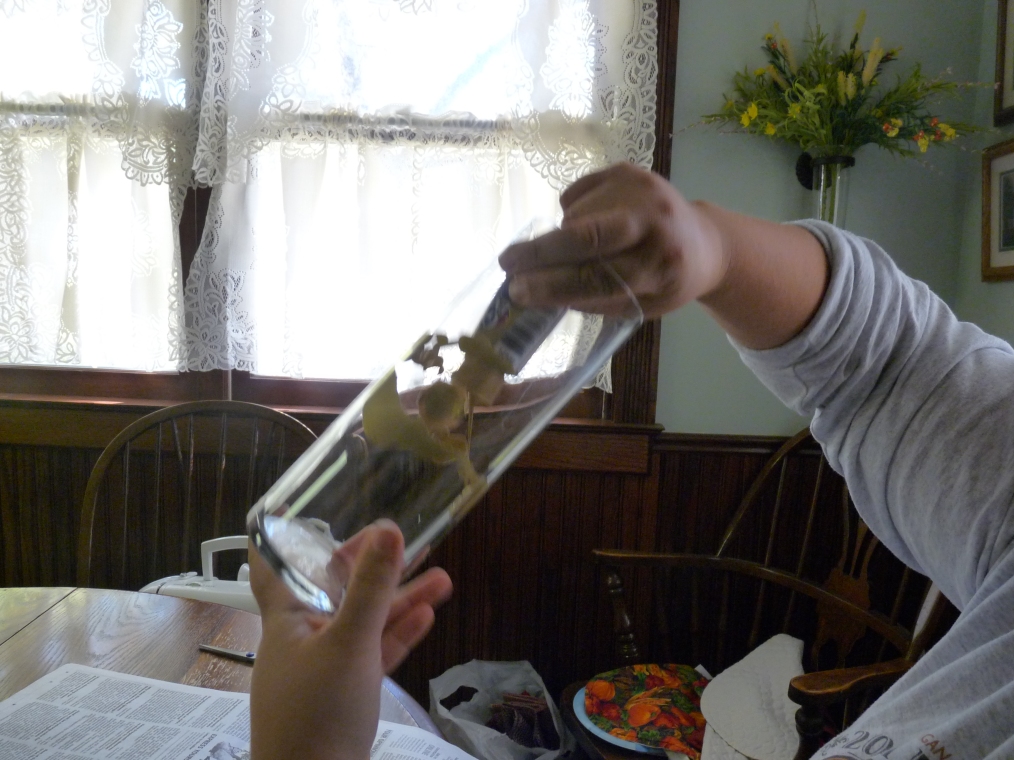
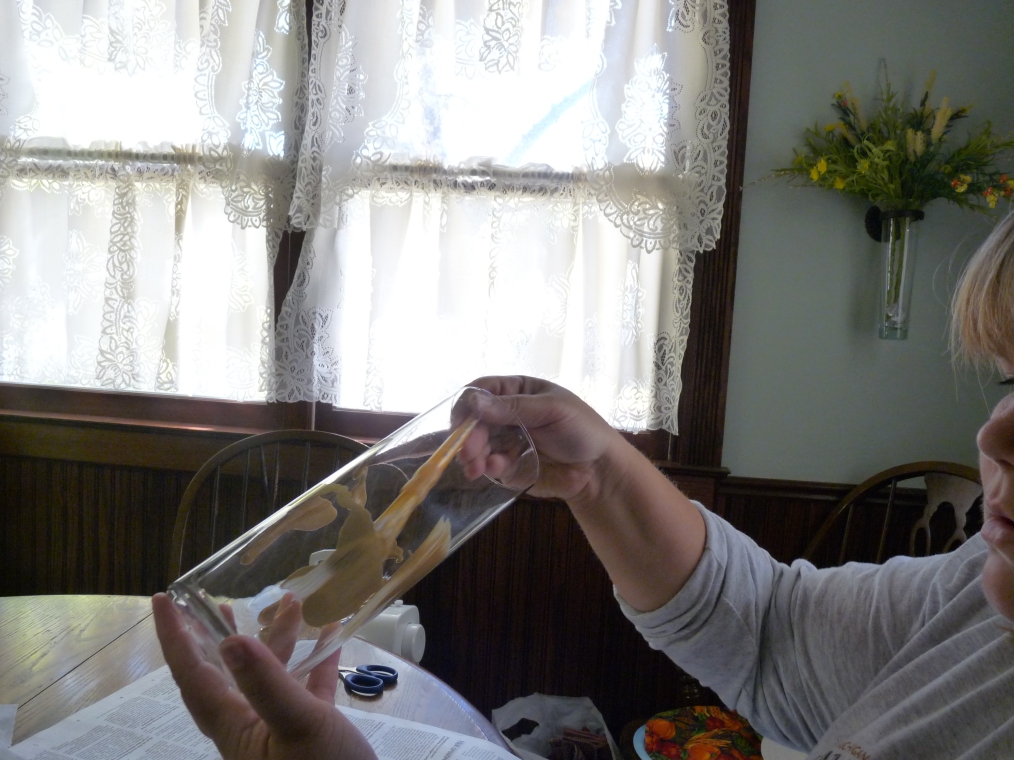
I wasn’t sure exactly how this was going to work, but I squeezed some paint in the bottom of the first vase and got to work. My plan was to just gently brush the paint around, making sure to cover the whole surface inside, adding more paint when needed. I was hoping that the one bottle of paint would be enough for all three vases. After I finished each vase I turned them upside down on a paper towel to let any extra paint slide down and out for a few minutes.

When I was doing the second vase, I started to worry that one bottle of paint wouldn’t be enough.  The next time I do this I would buy more paint, especially if I use a different color.  The gold provides better coverage than other color choices, so fortunately I was able to make it work with just one bottle.


Image

I started the process early in the afternoon and some of the thicker spots took all night to dry.  I waited until the next day to place anything in the vases to ensure I didn’t smudge the paint.

Image

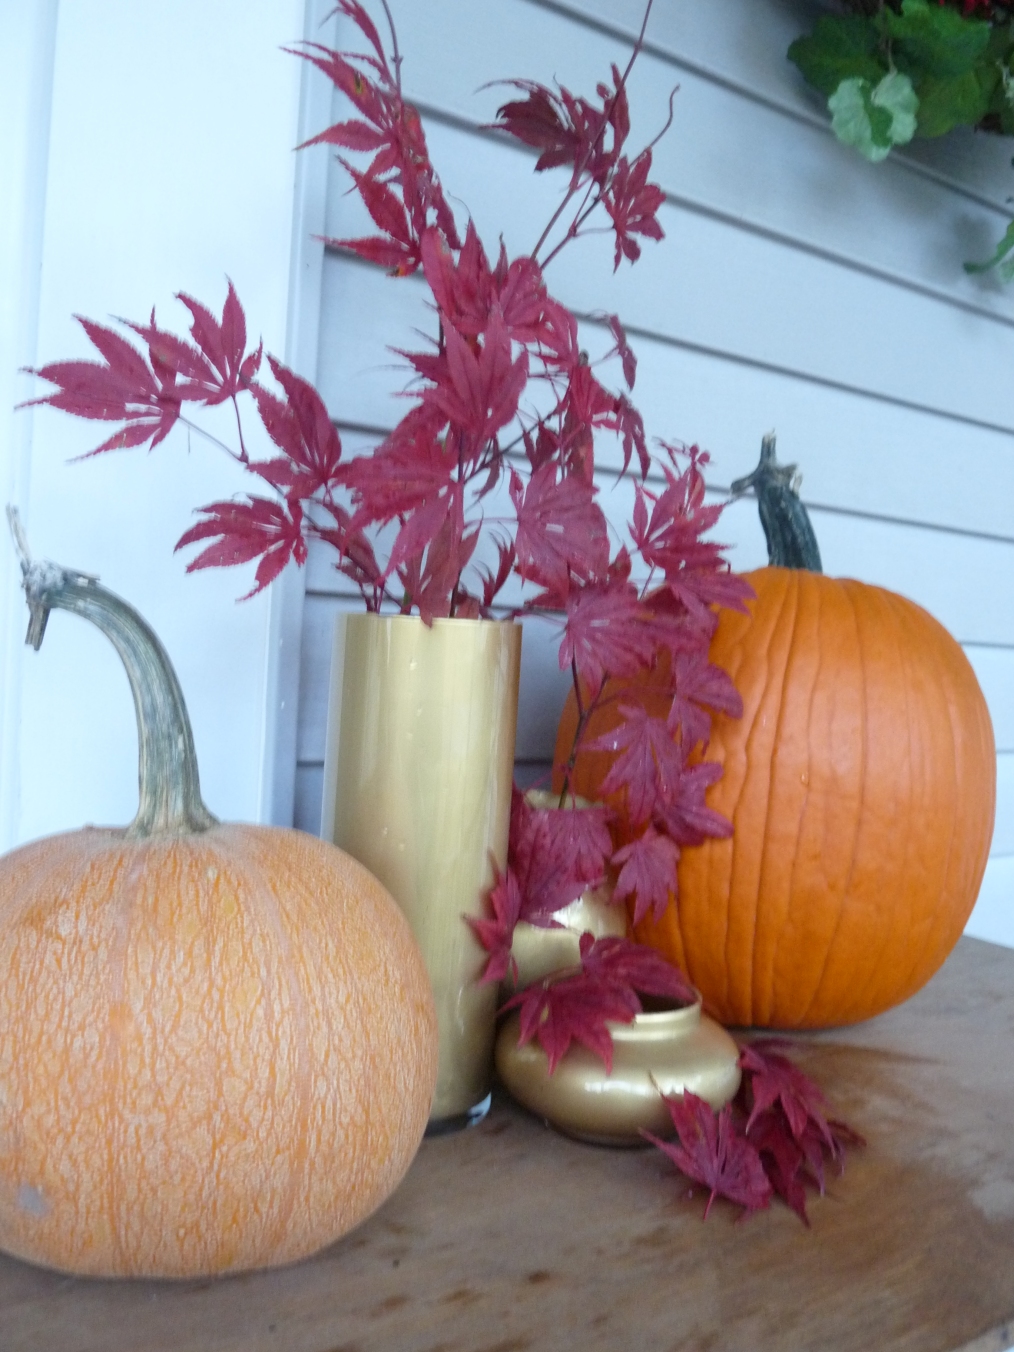
I am SO happy with how these turned out. I love the gold, kind of a neutral, but with some sparkle. They look beautiful holding fall leaves, and then they can jazz up my décor around Christmas. I will totally do this again in the future!

-Emily

New seat covers for our bar stools

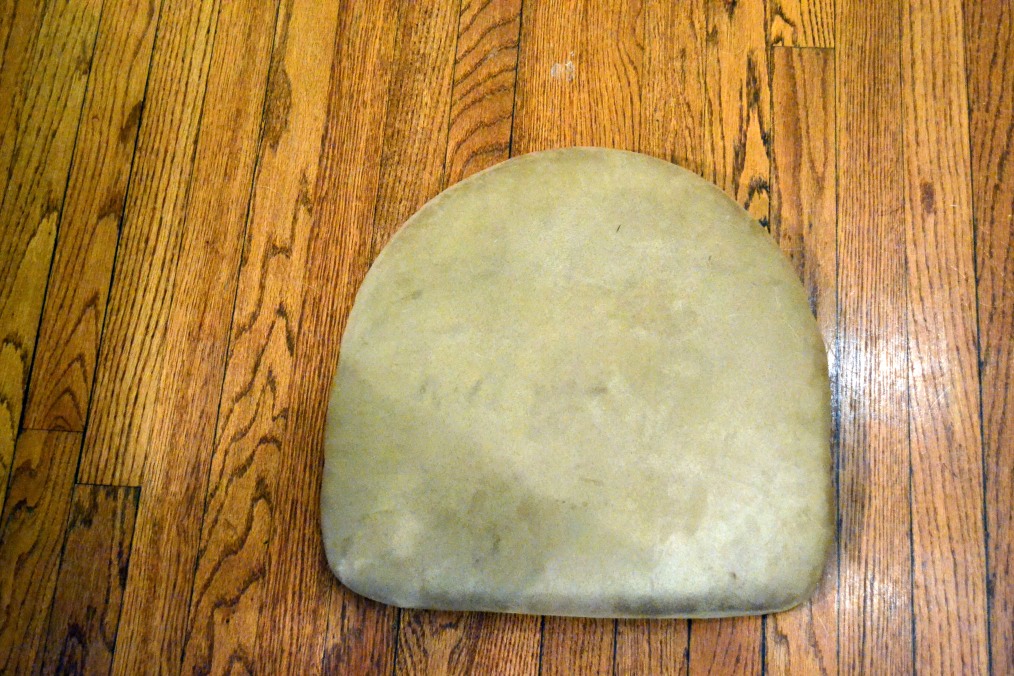
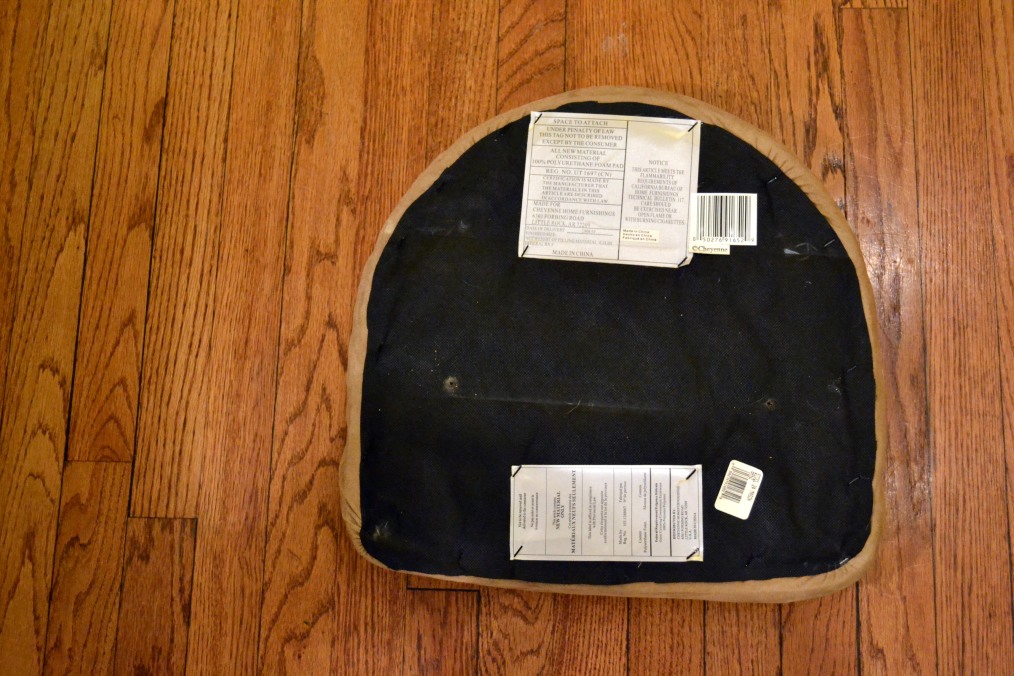
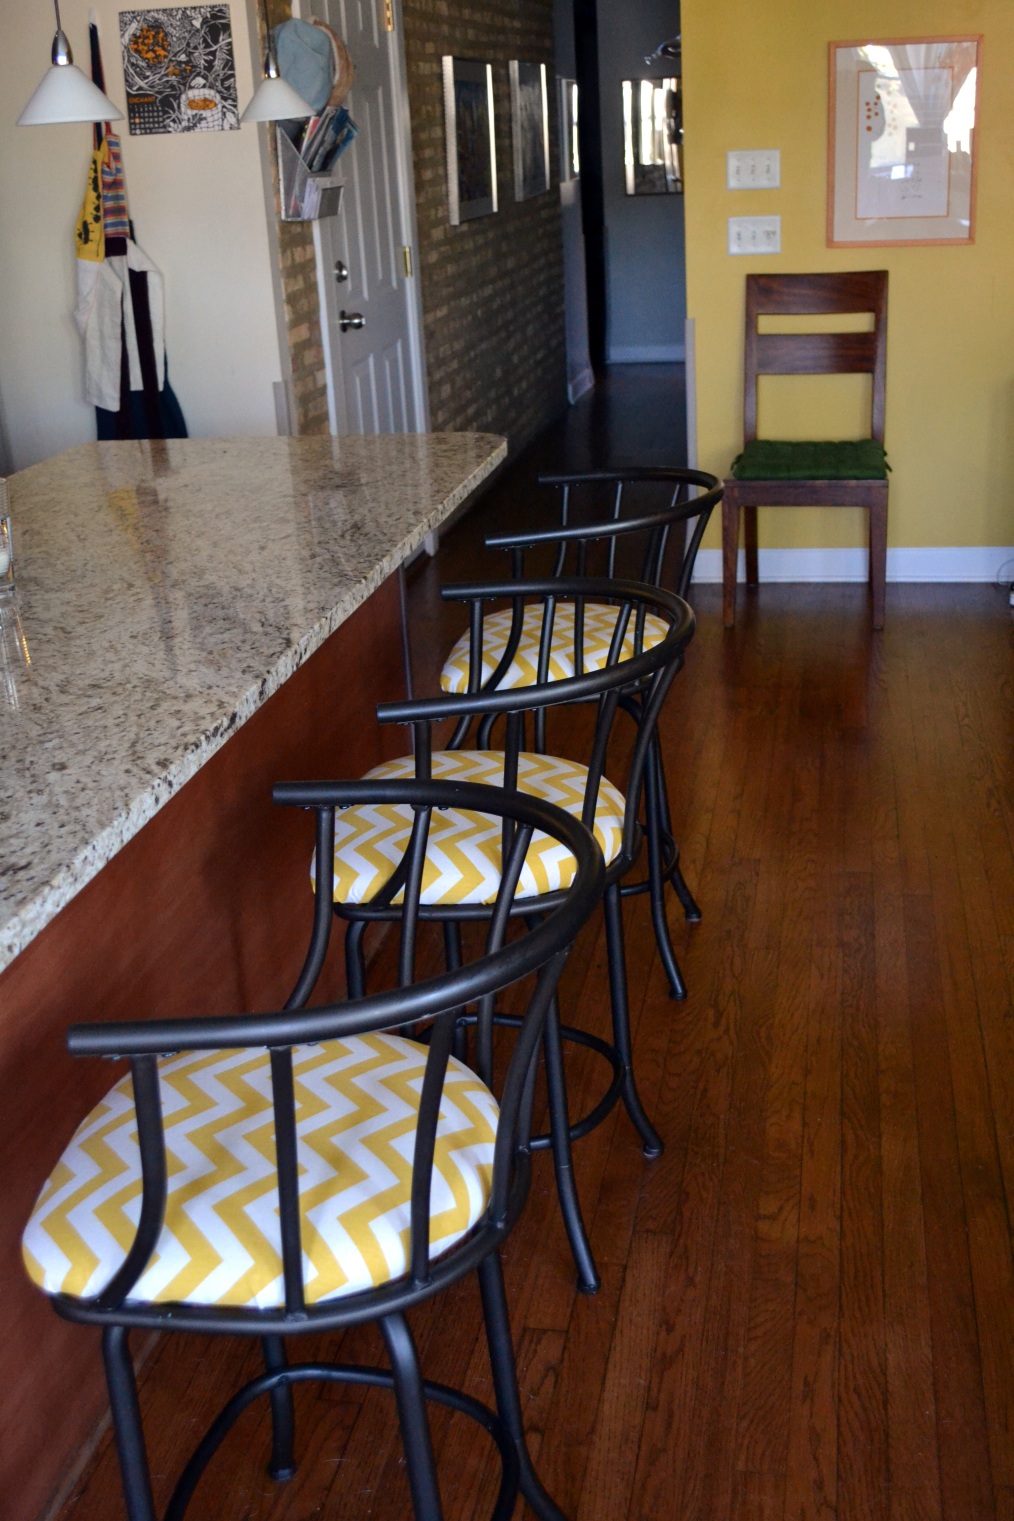
My husband and I purchased bar stools to use in our kitchen back in 2009.  They weren’t the stools of our dreams, but at $20 apiece (originally $60), the price was right, and after moving into our condo we needed the seating.  The stools swivel, are reasonably comfortable and are still in excellent shape three years later.  We like the dark bronze finish of the back and the legs, but the beige microfiber seats did nothing for us. (Of course I forgot to take a full before shot, but here is a photo of a seat after it was removed.)

Image

I had been casually looking around for fabric to use to recover the stools for several months when I came across a yellow and white chevron fabric at Hobby Lobby.  I loved it, and with a 40% off coupon I bought two yards for about $12.00.  I already had a staple gun and staples, so I was ready to start.

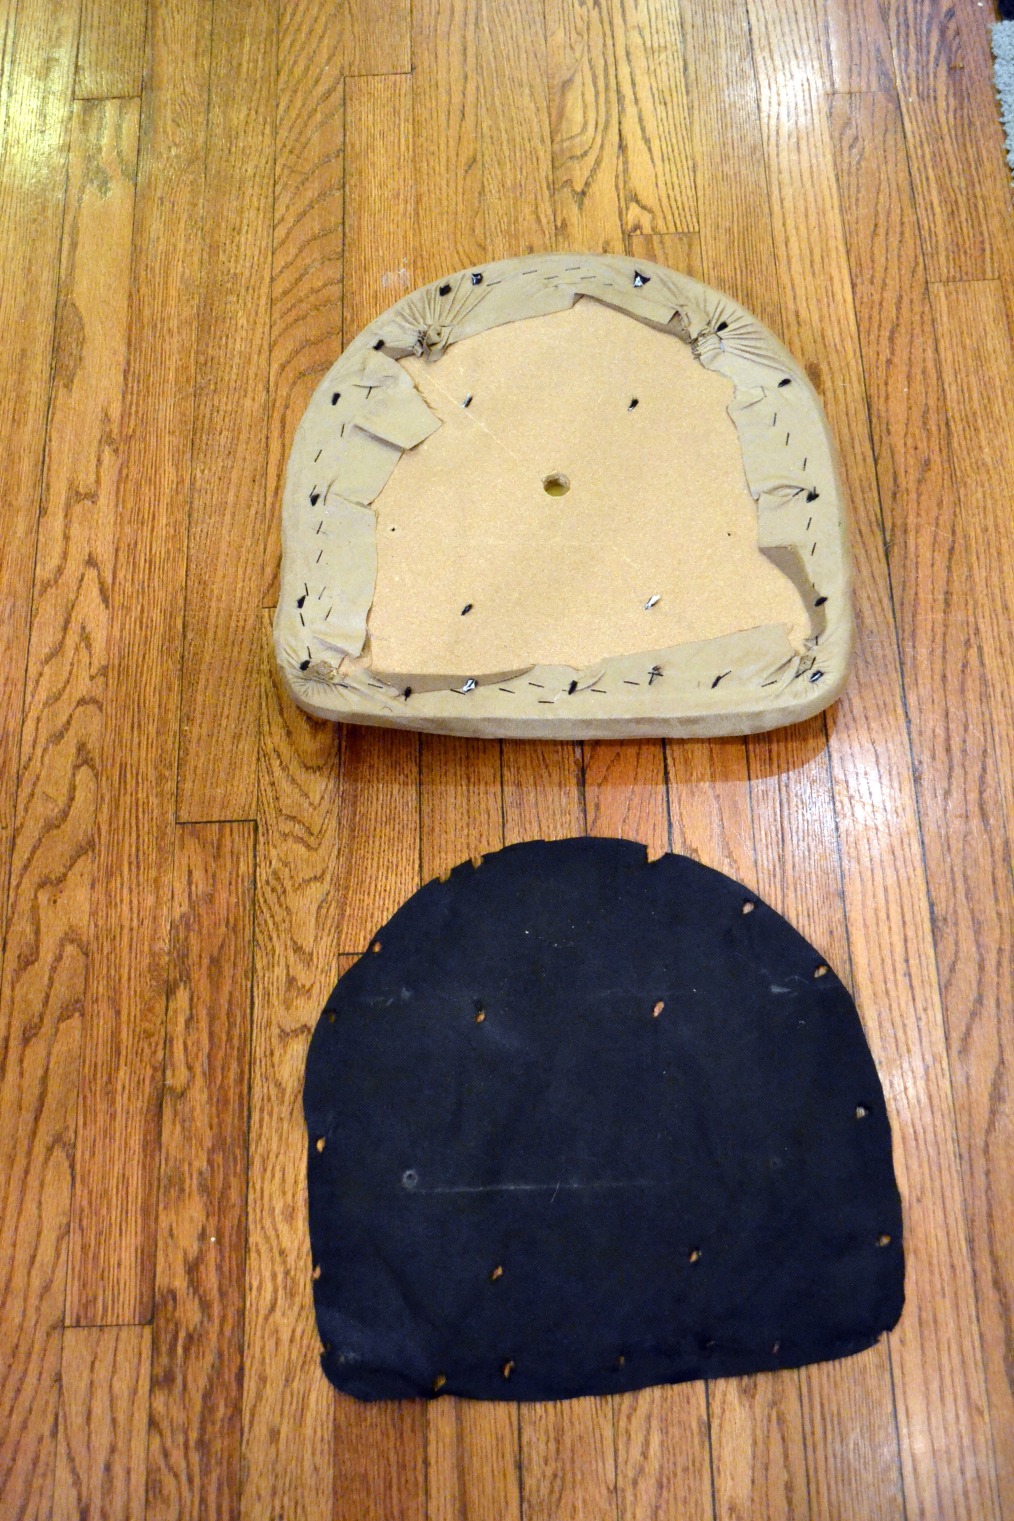
After unscrewing the seat from the base I removed the black fabric covering the underside of the chair, being careful not to tear it too much because I planned to reuse it.

ImageImage

I laid the seat upside down and eyeball measured a new square of fabric.  I neglected to photograph the most important step – pulling the fabric tight and stapling.  The sides are easy, but the corners are more challenging.

After I finished attaching the new fabric, I restapled the black fabric to the bottom and reattached the seat to the base.  Finally, since I didn’t use a waterproof fabric, I took the chairs out to our porch and applied a few coats of Scotchgard to protect the seats from spills.

Image

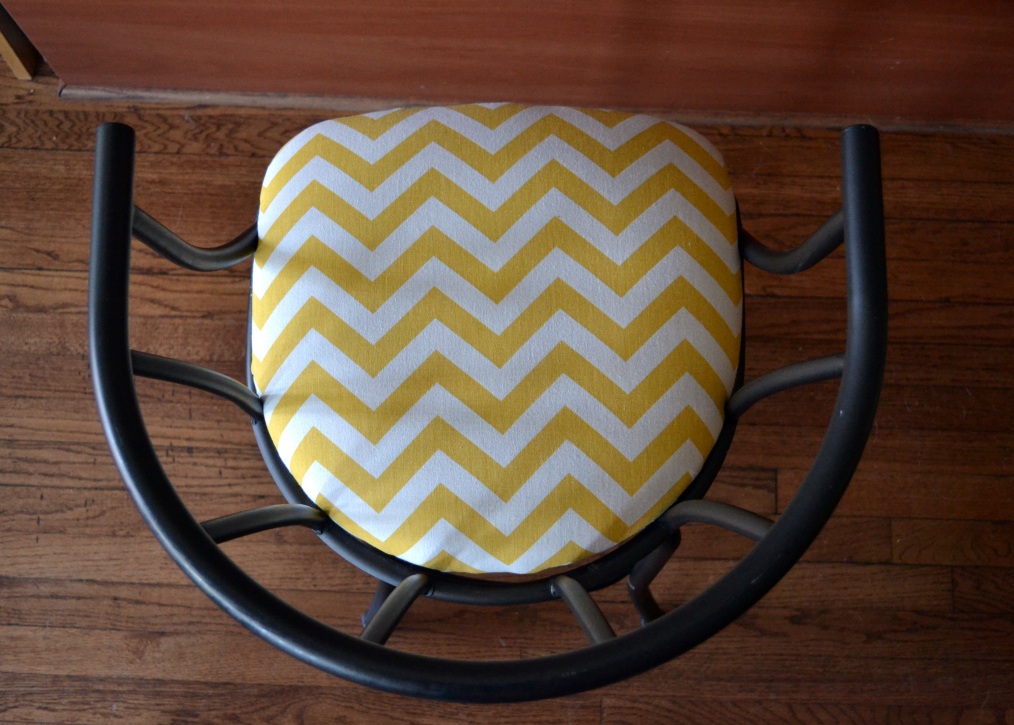
We love the pop of color and pattern that these add to the room.      -Eliina

Image

Leaf mobile

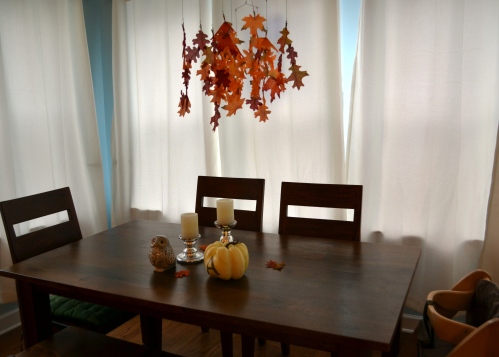
I’ve been daydreaming about replacing the track lighting above our dining room table with a chandelier or a drum light fixture, but it’s not in the budget.  To liven up the space above our table and to celebrate fall, I created a fall leaf mobile.

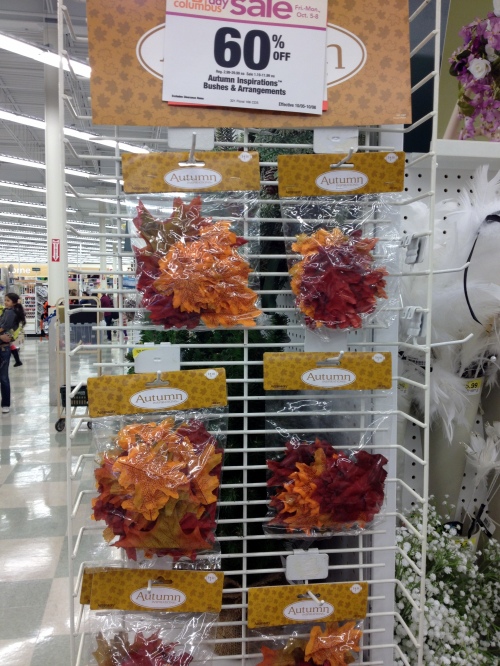
I’ve owned a photo clip mobile for several years, so I had a structure to work with.  It’s similar to this mobile.  I bought two packets of fabric leaves.  While real leaves would be lovely, they’re also prone to getting dry and crumbly and are difficult to sew.

Based on the number of clips on the mobile and the number of leaves, I decided to sew them into clusters of five to nine.  I used gold thread to sew the leaves together by hand.

One of my daughter A’s favorite books is I Am a Bunny.  When we read the pages about falling leaves she points to the leaf mobile.

-Eliina


Seasonal Frame

I think fall is finally here to stay! The leaves are changing colors and falling everywhere, the morning air is crisp and cold but things warm a little with the sun. This has me thinking about the holidays, and with holidays comes decorating! I don’t always put a lot of effort into fall decorating but then I had an idea for a project that can be quickly changed to match the seasons. With just a few basic supplies that I had on hand and a few from the store I made an easy addition to my fall décor.

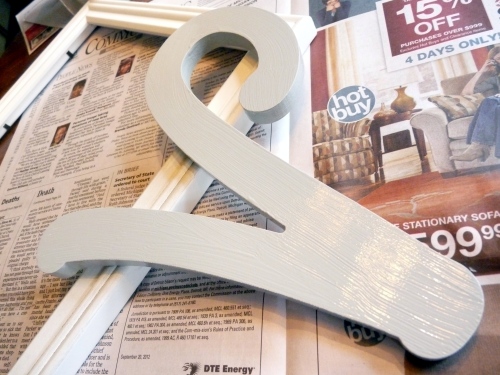
I decided that I wanted a neutral color that would allow for a variety of colors over the course of the year. I really like grey right now so it was an easy choice.

The paint went on really easy on the “V” but the frame was a little glossy so it needed a quick sanding to help the paint stick.

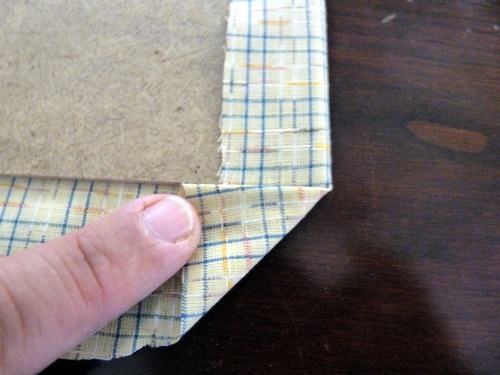
The idea behind this whole project is that the background can change each season, so I looked though my stock of fabric and found something that I thought looked fall-y. I covered the back of the frame with this, just folding it over like a present and securing with a little tape for security and easy removal.

Finally I took some inspiration from our trees in the back yard to make this shout even more of fall.

I’m really looking forward to enjoying this for the next couple of months, but my mind is already churning, thinking about what I can do for winter.

-Emily

Monogram pumpkin

I’ve never decorated our condo for Halloween, but with a toddler in the house I’m getting into the spirit this year. My daughter, whose name begins with the letter A, loves to point at this monogrammed pumpkin during meals.

I purchased this white plastic pumpkin at Jo-Ann’s, but I’ve seen similar pumpkins at Target and other stores.  This would also work with a real pumpkin.  Choosing the flattest side of the pumpkin, I lightly sketched the outline of a letter A using a pencil.  Then, using a Sharpie, I filled in the outline with dots of various sizes.  I made the larger dots first, then filled in with the small ones.  I then erased the pencil marks, leaving only the dots.  Enjoy!

-Eliina