
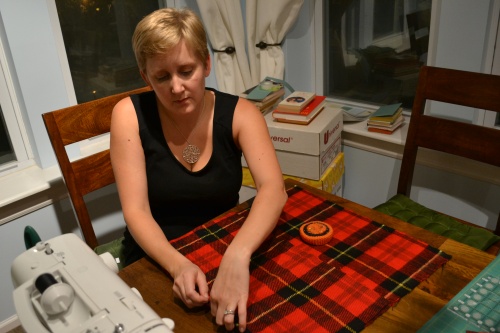
Emily’s Chicago visit was months ago and I’m just now writing up our final project from that weekend. We were super busy! In addition to my regular sofa pillows in shades of yellow, cream, and grey, I wanted to make some pillows that would work with our Christmas decor. I searched local fabric stores for an awesome red plaid…and found nothing. Very disappointing. Then when I was shopping at H&M one day after work, I came across a fantastic, classic, very wide red scarf. Perfect!
First step: confirm that the scarf is in fact cozy. Emily performed the assessment.

After measuring the pillow we were covering, Emily trimmed the fringe off the scarf, and then cut the front panel.
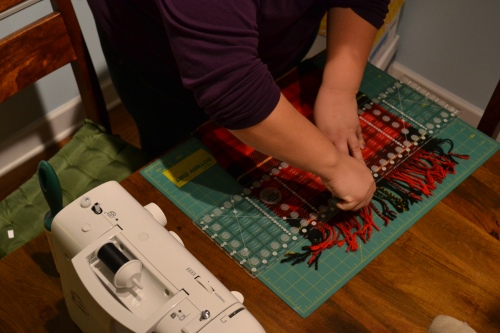
Exposed brass zippers are having a moment in fashion, so we thought it would be fun to add one to the back of this pillow instead of using a pocket closure. (As with the monogram chevron pillow, I wanted this pillow cover to be removable and washable). Emily cut two panels for the back side of the pillow. My super helpful contribution was to pin the three pieces of fabric together!
Then, Emily did the real work. So, I’ll let her tell you what she did.
I have never sewn a zipper into anything but I knew with a little thinking and maybe trial and error I would be able to figure it out. Now that the zipper is installed I would do it a little differently, but I will get to that in a bit.
The pillow had been all sewn together with an opening down the middle of one side for the zipper. When the fabric for the two back pieces was cut we added an additional ½ inch to the width so there was room to fold over the fabric and sew it to the zipper. The plan was to allow the zipper to show on the back of the pillow for added detail. I laid the zipper in the middle of the opening, with the fabric turned right side out, and made sure the fabric was laying nice and flat, this would help to make sure that I wasn’t pulling the fabric which would potentially make the pillow cover to small, or make it pucker. After this was nice and flat I took the fabric on the left side and folded it under to create a nice line, I then pinned this to the zipper in a few spots, making sure that the placement was fairly even down the zipper so the finished product looked nice.

After things were pinned where I wanted them I sewed the left side of the zipper to the fabric. This was nice and easy because the pillow was still open down the center.

Then as I began to repeat this same process on the right side of the zipper I realized I had made a mistake! Because I had sewn the rest of the pillow together there didn’t seem to be a way to sew the other side of the zipper to the fabric, I had left no opening in the pillow so any further stitching would end up sewing the back and the front of the pillow together…not the effect I was going for and to top it all off I had not brought a seam ripper with me so undoing a seam was going to be quite the process. As I sat and festered about this I realized that I could unzip the zipper! What a novel idea! Once I did that I continued with the same process as before of folding, pinning and sewing.
The zipper we chose was not the same length as the pillow so there were about 2 inches on the top and bottom of the zipper that still needed to be sewn together. I turned the pillow cover inside out and sewed a quick seam down to meet the zipper. Zipper installation complete!
Now for what I would do differently: I would install the zipper BEFORE sewing the rest of the pillow together. This would make the process a little easier. -Emily
Here’s one last shot of my crafty sister Emily on my couch with all three pillows that she made for me! Thanks, Em. -Eliina


You have inspired me so I nominated you for the One Lovely Blog/Very Inspiring Blogger Award! You may visit my site, http://thequiltshopnavigator.wordpress.com/, for acceptance info and some badges. There are also links to some other very inspiring blogs! Have a great day!