This weekend I finally got back to working on the quilt I started a while ago. I had made part of the top previously and the tasks I had left were:
- Add a border to the top and section dividers
- Cut the back to size
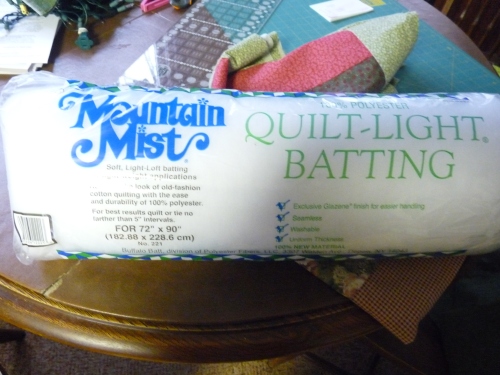
- Buy the batting for the middle
- Pin and sew the top, back and batting together
- Tie the quilt
This list is why my project has not been finished. I have never completed these steps in quilt making by myself. I have been a part of making tops a number of times and I have tied quilts. I’ve never completed the important middle steps before so I just wasn’t sure how things were going to develop, so I put this project on the very back burner for a while. Enter this weekend. I was ready to be productive and get a few things completed, or at least closer to completion. Between doing some holiday baking and working on a couple of secret gift projects I worked on and finished Nelly’s quilt!
My first step was deciding how wide I wanted my border to be. This would be the same width as the “section dividers”. I decided that about three inches would be a good width so I got to measuring and cutting. To leave room for the seam I cut seven 4” wide strips. The next step was just pinning them one at a time to the strips that I had made previously and sewing them together.
When this step was done I had a nice rectangular top ready to be pressed. I had been advised to NOT iron my seams open as I had seen in some other tutorials but rather to press them all in one direction. The reason for this was it would keep the seams stronger in the long run, when they are pressed open the stitches can be stressed more which would lead to stretching and potentially breaking.
I measured my top when it was all pressed and flat, and it was roughly 51”x58”. This was great except for the fact that the fabric for my back piece was only 45” wide and about 106” long so I was going to have to do some additional cutting and sewing. A couple of quick cuts later I was zipping the back through the machine, nice and easy. I pressed this as well and then asked my momma for some advice.
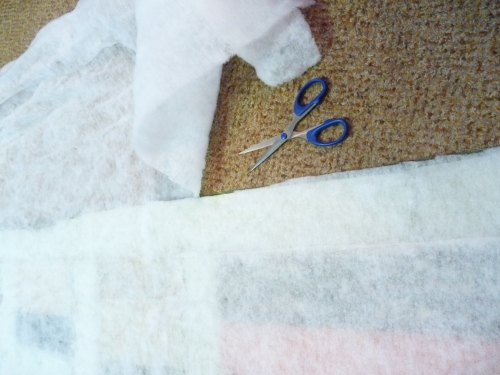
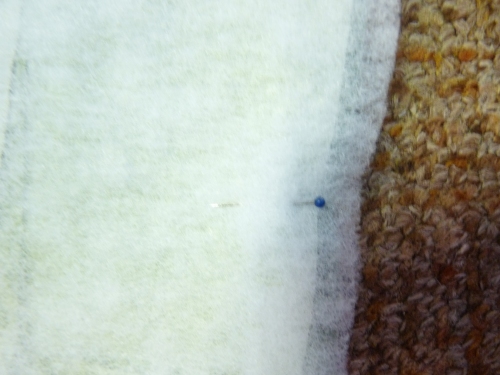
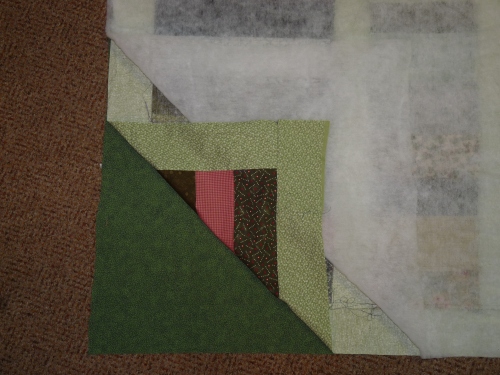
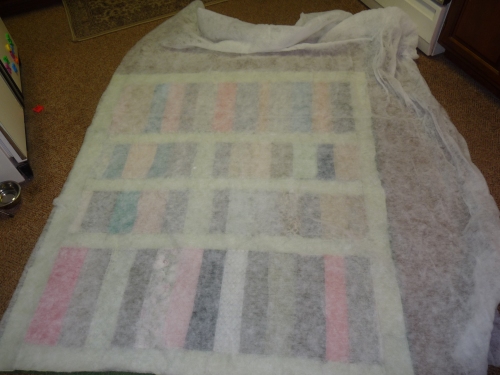
As previously stated my quilt making experience is limited. I wasn’t sure how to finish the quilt. What would I sew together to get the top, bottom and batting together? I took the three possibilities and went with what I thought would look the best without taking too much extra time This involved pinning the bottom, top and batting all together and then sewing around the edge, leaving a 10-12” gap so I could turn the quilt right side out when I was done. This involved layering the three pieces and making sure they lined up nicely, easier said than done when working on the floor, but I got it accomplished.
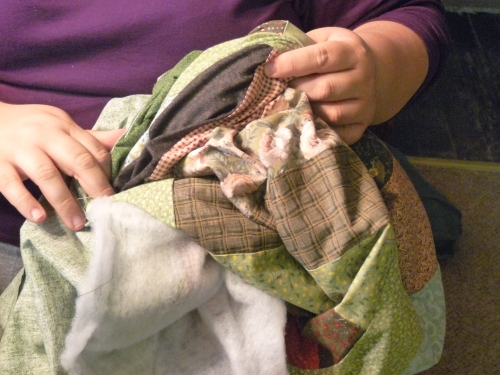
Sewing it all together went smoother than I thought, I had a problem with the thread tension to start but after that I was off and running—ummm sewing. I left about a 10 inch opening at the bottom of the quilt and just reached in and grabbed a corner and carefully started to turn the quilt right side out.
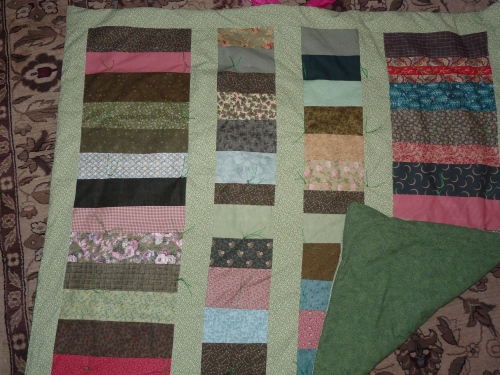
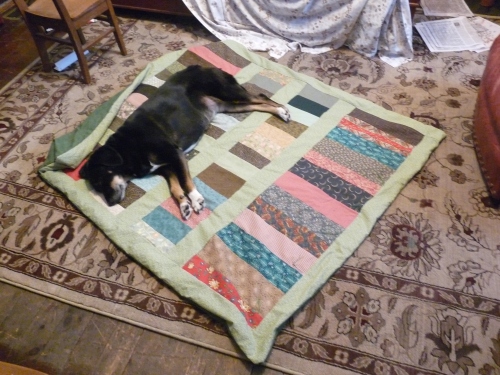
At this point I was very excited with how my quilt looked, for just piecing together scraps it was looking good! Two final steps and the I would be done. First I folded the fabric at the opening and took my needle and thread to it, just slowing stitching it closed. Then I laid the quilt out on the floor to tie it, this step it necessary to keep the 3 layers together when in use. You can also quilt the top in various ways but I knew that was not what was needed. This quilt is going to be used by my dog Nelly, so she can lay on the couch and keep at least some hair contained!
Though this took a while to complete it wasn’t because of difficulty really, it was just procrastination. But I am really happy with the results and would definitely consider taking on another quilt someday. But for now I will just let Nelly enjoy her gift. Isn’t she a cutie all snuggled up!
-Emily
Sorry for posting this so late! Emily wrote it before Christmas but her slacker editor didn’t get it up until now. -Eliina

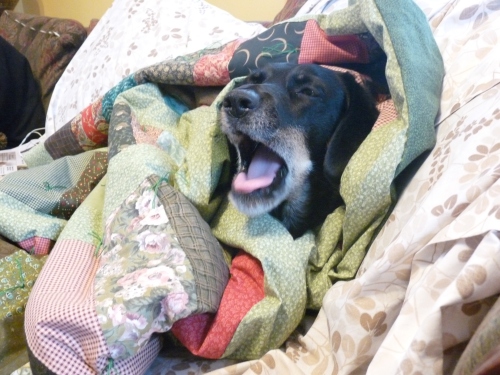
What a good job you did! The first quilt is always the scariest. Nelly looks so cute in her blanket.